Wednesday, 10 May 2017

'Stop and Smell the Flowers' by Elisa Ablett

Hi Everyone!

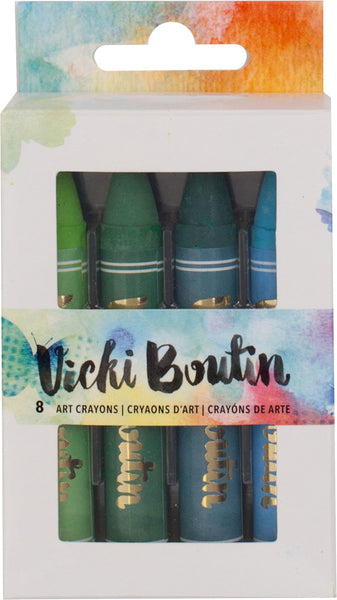
My turn up on the Artified Blog today with a step by step Art Journal page featuring Vicki Boutin Art Crayons - Cool Palette and Dylusions Ink Sprays.

If you haven't tried the Art Crayons as yet, put them on your list as a must have! They are so creamy and vibrant in colour and easily blended using many methods AND are easily water soluble as well, so many uses!


Here is my page - 


Vicki Boutin Mixed Media Oil Pastel Art Crayons 8/Pkg Set 2

Links to products in the shop for easy reference at the end of the tutorial!

Now onto the first step - 👇


Step 1 - First prepare your background, in this case I used a teal Dylusions paint painted roughly over the page, then once dry I sprayed Black Marble Dylusions Ink Spray on both the top and bottom of the page and tilted the page to make the drips. I added a little Teal Ink Spray as well to the top and bottom.


Next Step - Gesso the page in the middle roughly again, Then glue a square of water colour paper to the middle your gesso square and a few bits of ephemera to the lower right hand side for a bit of added texture. gesso over the top of the ephemera to dull their colour. Once dry draw black lines with a black marker and ruler on your square.


 Splatter watered down gesso over page.


Grab another square of watercolour paper and your Art Crayons and a craft mat!


One great technique to use with the crayons is to scribble them directly onto your craft mat and spray the colour with water and mix with a paint brush, you now have a lovely vibrant and thick watercolour paint.


To stamp the flowers I put my stamp on a block and then dipped the stamp in the paint on my mat and stamped on the water colour paper. To get the darker background i scribbled directly onto my stamp with the crayon and lightly misted the stamp with a spray bottle of water and then stamped over the top of my layered flower. To add details, use a paint brush and using the technique above scribble colour on your craft mat and spray with water to make a paint. Then pick up colour with your brush to add details.


Next step, tracing around your silhouette onto your page to get your outlines in place with a black archival safe marker.


Next step - add your die cut feathers, in my case I handmade my feathers with a cool technique using a silicone mould and modelling paste. Scribble your colour crayons directly onto your feathers and then mist with your water spray bottle and using a paint brush move your colour again over that area.


Stamp over the top of your flowers again with a black archival ink to add finer detail. Set aside to dry. Then fussy cut your flowers and leaves out.


Next step - grab your layered stencils and lay them over your silhouettes, scribble your coloured crayons over the stencils. Then using a baby wipe, wipe the the colour through the stencil onto your silhouettes. Adding colour and texture. Once dry we are now going to add your black colour to add shading to your page. Scribble your black crayon from the Vicki Boutin - Art Crayons Classic Colours set around your silhouttes and feathers and flowers. Using a wet paintbrush and your finger (YES your finger lol) smooth the black and blend around. Dab the harsh edges of your black shading with a baby wipe to further smooth the colour out.


Next step ! - stamping with your crayons - scribble onto your craft mat again and spray the colour with water and then dip your stamp into the colour and stamp onto your page as per the below photos.


Last steps! Glue your flowers and leaves onto your page just over the top of the feathers, add your cut our sentiment and add more splatters of white watered down gesso over your page.

Here are some close ups of the finer details - 


You are now finished!


Product Links 


Thanks for stopping by the blog today, I hope that you have enjoyed the tutorial! 

Make sure you leave some love xx

Elisa 


Tuesday, 25 April 2017

Art Journal Play

Hi all! 
Michelle with you today with a few art journal pages created with lots of Artified goodies.
I had loads of painterly fun creating, so much so, I failed to take picks of my process, so sorry but I promise to remember for next time!

First up is "Shine Shine Shine" using some Geli printed papers, Washi Tape, vintage papers, stamps, stencils and paint a plenty!

I started with gesso and paper layers then added more paint through stencils, stamping and Washi Tape then used the black as a unifying colour to bring all the elements together. I applied paint with a palette knife brushes and my fingers till I was happy with the composition.
Here is a little bit of detail for you:


The focal point was made with a Kraft card and a few Dina Wakley stamps. 

Next up "Me...".
For this one I made a stencil out of a magazine image, then used that shape to create my figure out of old book paper.
I had a bit of fun splashing paint around and stamping on a Gessoed page, then stuck the figure down with Matt Gel Medium.

I added some paint to the figure through a few stencils and added details with a Stabillo all pencil and paint pens.


The shadow around the figure I did with the pencil and a touch of water applied with my finger to blend.


A few more stamped images and the page was done!

Now for my last page to share, "Be....".
Used a lot of scraps here and had some fun with paint and stamps, this one was very quick and easy to create.


I started by adding old book paper shapes across the Gessoed page, then added my paint colours with my palette knife. I then rubbed the paint off through a stencil with a baby wipe to leave interesting patterns underneath.
Lots of layers of paint and stencilling created the background, then it was time to focus on the foreground of the page.
I wanted something simple but I also wanted it to cover a lot of, what was, a very busy background. 

I went through my scrap paper stash and came up with some old black lined paper....do not ask me where I got that from....no idea!
I punched out the circles with an old punch and laid it across the double page so that the circles framed just enough of that busy background. I then added some paint on a stamp to make the paper part of the composition and added some stamped words and the page was done!
Here are the links to all the products used on my pages for easy reference:


So there you go, my sharing here is done, see you next month! 
Michelle


Monday, 17 April 2017

Never Change by Kerry Fellowes


Hello.  Its Kerry here today and I am so excited as today I get to play with a bunch of NEW products that we all got to drool over from the CHA or Creativation videos from January. Without a doubt the stand out product for me from all these new releases were the Distress Oxide Inks.  They are completely different from any other inks I have played with, so lets get started! 

I have taken a piece of 300gsm watercolor paper and cut it into a tag shape. I took some Distress ink in Cracked Pistachio and 'smooshed' it onto my craft mat and sprayed both the tag and the ink with water.  Using a brush I dabbed and flicked the ink onto the tag leaving plenty of white space then used my heat tool to dry off.


 I did the same again using Broken China Distress Oxide remembering to leave some white space and dry off again. 


Using the Fossilised Amber I have added some ink around the edge with a sponge. I have added a few splashes of water to the tag and then lifted some of the colour off with a paper towel.


Repeat the  process again with Vintage Photo Distress Oxide and that completes the background and dry off, you will now start to really see how these inks layer on top of each other.


Another item I was really impressed with was the Tim Holtz Paper Dolls.  The package is huge and there are all shapes and sizes in the pack.  I picked out these cute little girls and wanted to give them some wings.  I stamped the butterfly from the Carabelle Studio Believe in Magic stamp set and coloured them with the Distress oxide Inks in Worn Lipstick and Fossilised Amber.  I cut them in half and stuck them onto the back of the paper dolls.


I added a little bit of random text stamping to the tag to add some interest to the background and then used some of the NEW Tim Holtz Design Tape to 'ground' the Paper Dolls.


 To finish off the tag I have coloured some seam binding with Distress Oxide Worn Lipstick and Spiced Marmalade.  I placed the seam binding on my craft mat then just added the Distress Oxide on top and activated with water, I scrunched the seam binding as I dried it to give it a crinkled look.  I repeated the process with the Cracked Pistachio and Broken China Distress Oxides on a separate piece of seam binding.


And last of all I have adhered some Chit Chat stickers for my sentiment.


You will find links to the products below:
- Distress Oxide Ink Pads
- Tim Holtz Paper Dolls
- Tim Holtz Design Tape
- Carabelle Studios Believe In Magic Stamp
- Chit Chat Stickers

The Distress Oxides are unique as you can layer the colours one on top of another and as long as you dry between layers you can get some AMAZING effects.  I will add a couple of extra pictures at the bottom of this post of some 'Rust Paper' I made using the Distress Oxides and a link to the video on how they were made :) 


 Thanks for dropping by :)


Monday, 10 April 2017

'My Sanity' Art Journal page by Elisa Ablett

Hi everyone, 


My turn up on the Artified Blog with a fun and colourful (tongue in cheek) Art Journal page.

Featuring loads of awesome Artified goodies including Tim Holtz layering stencils, distress paints, prima watercolour confection pans and a gorgeous Stampotique unicorn stamp.


Here are just some of the wonderful products used to create my Art Journal page, follow on for the step by step tutorial.


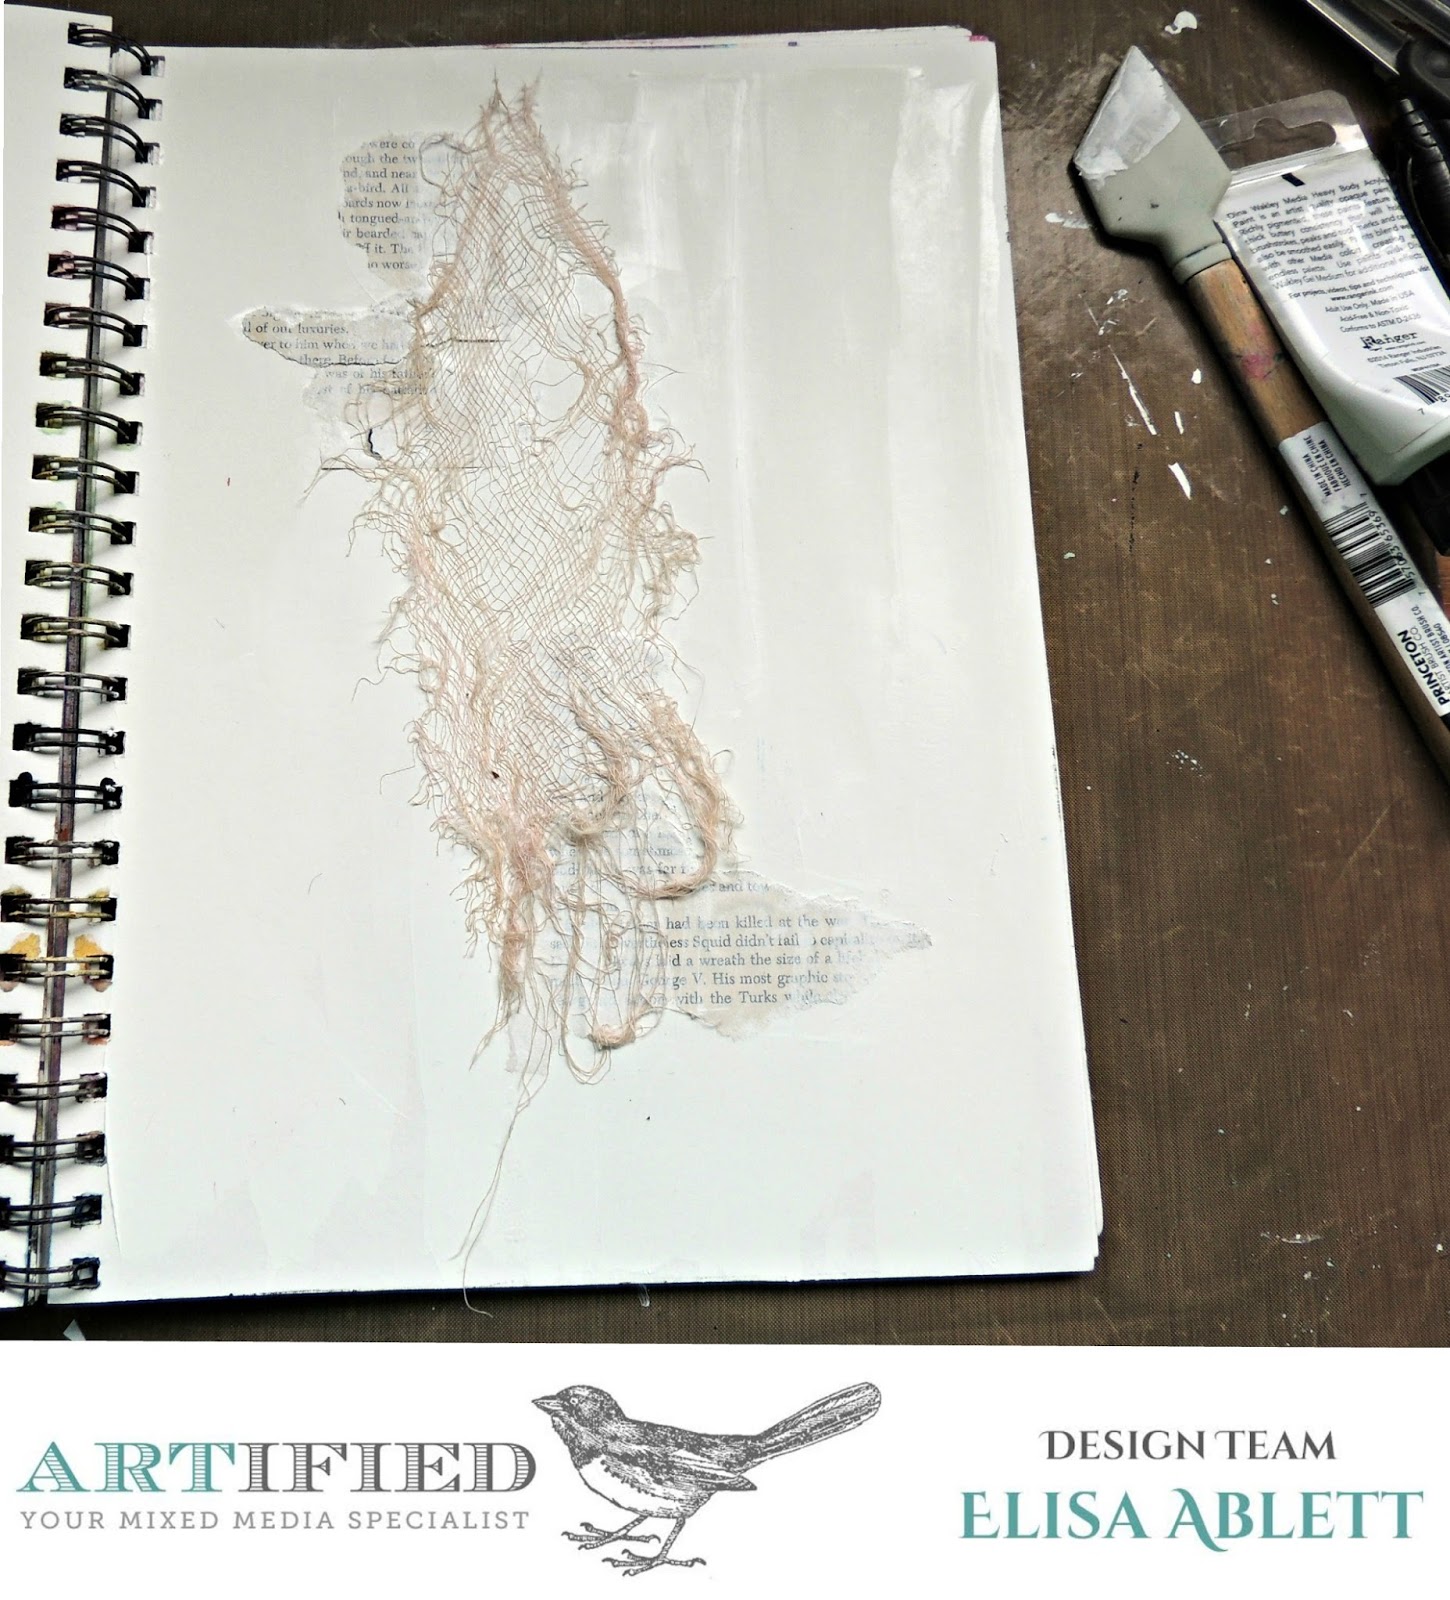
Step 1 - Using Dina Wakely heavy body white paint paint/glue old book paper and medical gauze to your page to add texture and depth.


Step 2 - while you are waiting on your page to dry, stamp your unicorn onto smooth watercolour paper with archival ink and colour with your prima watercolours using a paint brush. Fussy cut your unicorn out. I also drew a couple of bears to ride the unicorn in keeping with my funny saying and coloured them as well. 


Step 3 - Add some more texture to your page with modelling paste and your Tim Holtz Layering stencils. 


Step 4 - Once your paste has dried, using the side of a ruler ( i added black indian ink to the side of the ruler) and spritz my page with water in the middle, then pressed my ruler to the page to create black lines 


Step 5 - Add some circles to your page using stamps, toilet rolls, plastic lids etc and ink, start colouring the larger circles with watercolours or distress paint. Then start colouring your page using distress paint and water colours spritzing with water when needed.


Step 6 - Add some visual interest by gluing some colourful strips of paper. and then using a baby wipe over the top of a stencil to take away colour from your page.

Another chance to add some stamping !


Step 7 - Last steps - Add a large grungy circle in the middle of your page with a ink nib pen and Indian ink so that your unicorn can sit inside it and you can add your quote around the circle. 


Here are some close ups !!


Here are some links to the products in the Artified Store:


Unicorn by Magda Polakow


Well that's it from me today!!

Hope you have enjoyed seeing my Art Journal come together :-) 


Elisa xx