Hi everyone,
Elisa here from the design team with my latest creation for Artified - A mixed media Art Journal Page using the awesome products from the NEW and exciting Mixed Media Kit - August Edition.
The kit is perfect for those wanting to try out new products and also to add to your mixed media stash!

The link to the Shop for the kit - Head on over to check it out!

Here is my project - The Art of Living.

Tutorial time 😀

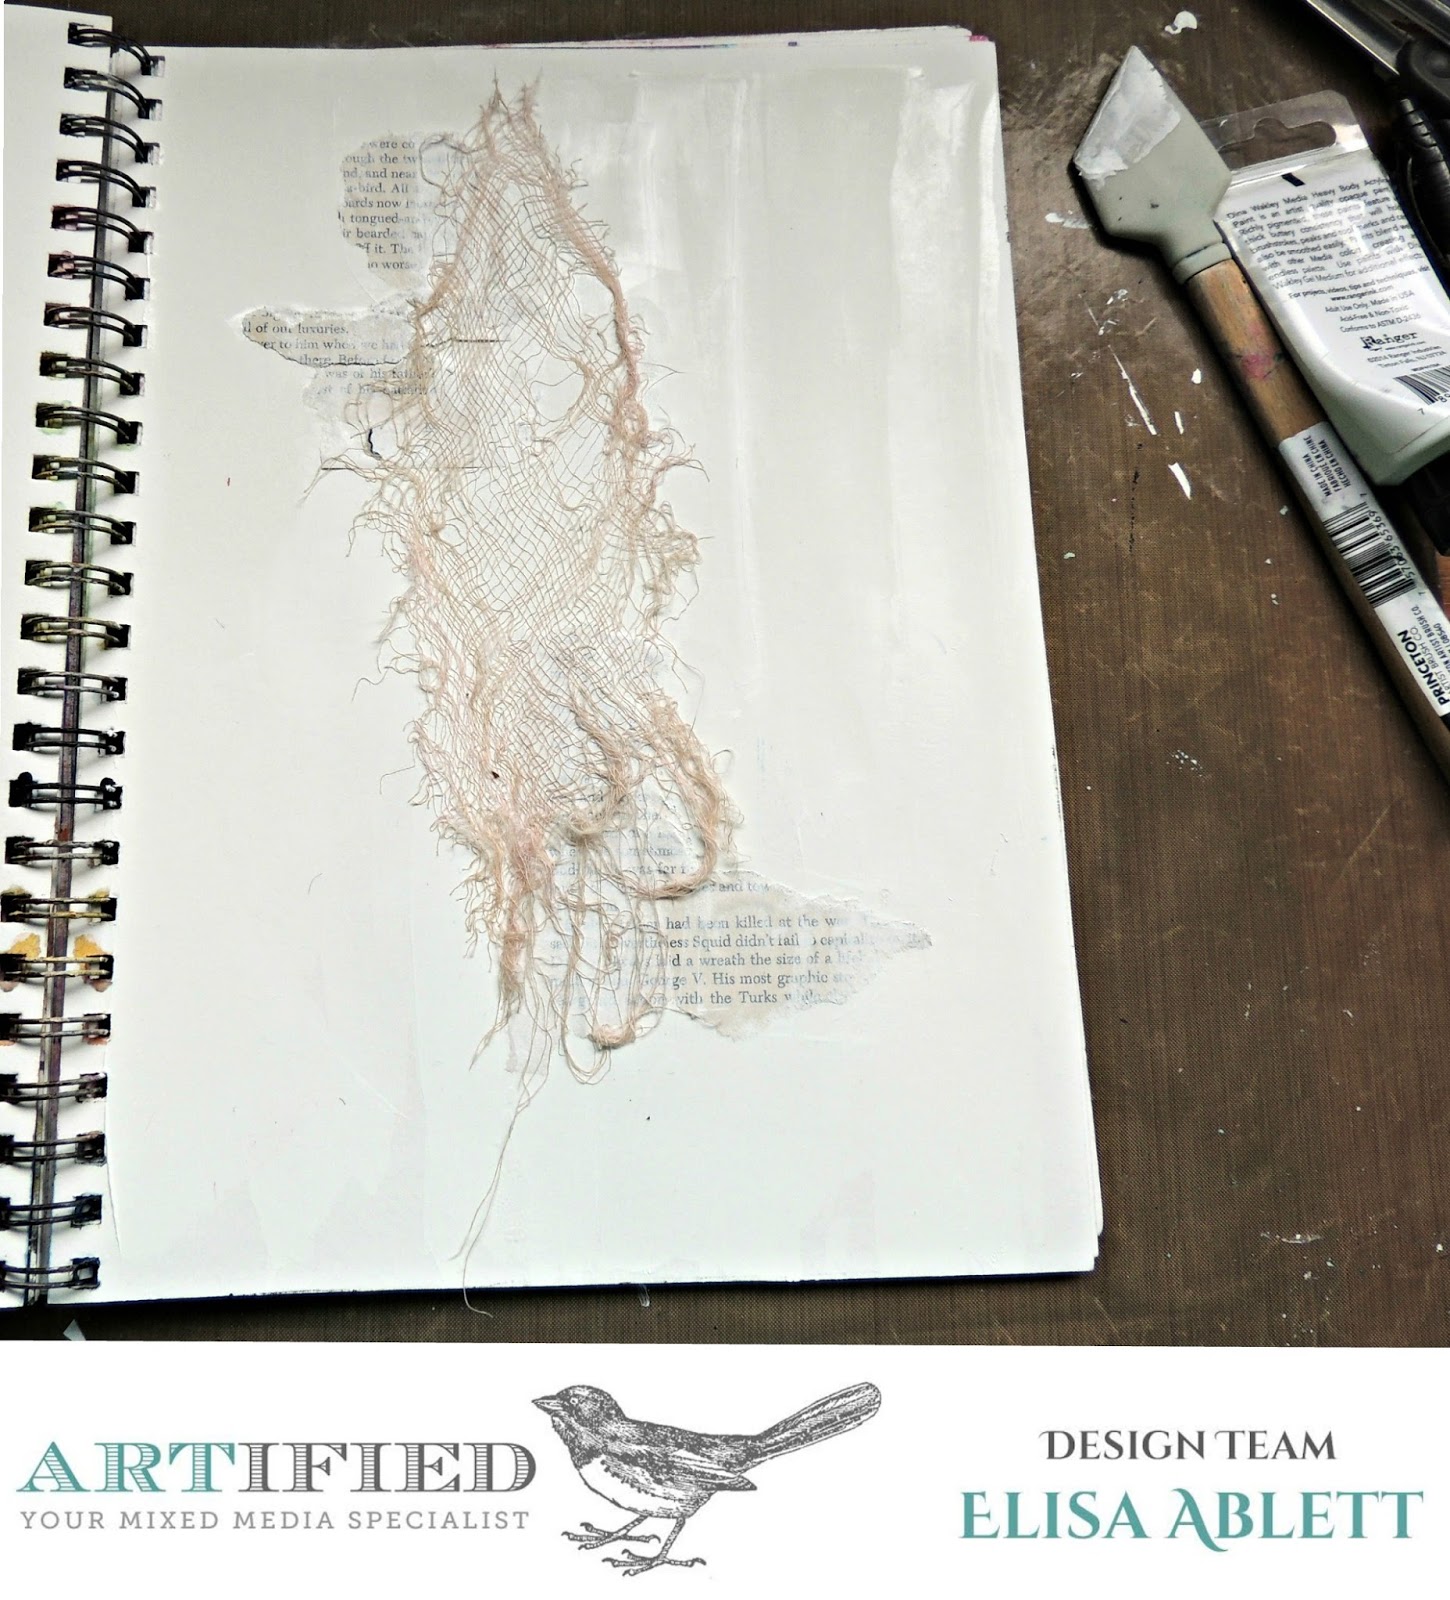
Step 1 - Using the dictionary paper provided cut two feathers either by hand or using a template and also cut a few rectangles (about 5 or 6 ) depending on the size.

Step 2 - Using gesso from your stash, give your feathers and rectangles a coat and let dry

Step 3 - While your feathers are drying, lets start the background! Coat your page with gesso and let dry, then spray your page with the Gold Acrylic Marabu Spray and while wet add drips of colour onto your page from your watercolour palette (the greens, browns, oranges and yellows). With a very wet paintbrush grab your colour and add to the wet areas on the page. Using a heatgun dry and then keep applying colour til you are happy with the page.

Step 4 - Add colour to your feathers and rectangles by spraying each with water. Spray water onto a craft mat and add some of your colour to the water. Then using a paintbrush add colour to the wet area of your feathers and dry using heatgun.

Step 5 - Some paper weaving! cut thin strips about 10cm long and lay the first few on top of each other and then start weaving over and under, doesn't have to be neat. Then spray over the top with the gold Marabu Art Spray and let dry.


Step 6 - Add some stamping to your rectangles and background page using the stamp and an archival black inkpad and an acrylic block.
Extra steps - Using the stencil and white modelling paste add texture to your background page
Cut a piece of white cardstock to stick your elements to the background page
Wrap some extra strips of the dictionary paper around a stick and add some ivory coloured cotton
Highlight some words from your dictionary or book paper - i was lucky enough to find the words - The Art of Living!
Stick down your rectangles, paper weaving, stick and feathers as shown in the main photo, overlapping each layer
Grab the thin paintbrush or water brush that comes with your kit and fill it with water, using the black colour add hand painted elements to your page, I added dandelions and grass.
I also used a dauber and a black inkpad through the stencil to add a butterfly to my page.
My theme was to tie in the words The Art of living with natural earth tones and flora and fauna.
Here are some close ups!


That's it from me today! I hope you have enjoyed my Art Journal page tutorial and also looking through the NEW Mixed Media Kit from Artified - Artified August Mixed Media Kit. Make sure you leave me some love!
Also make sure you join the new Artified facebook group to share your creations and keep up to date with all things Artified - https://www.facebook.com/groups/246759415835526/?ref=br_rs