Showing posts with label art journal. Show all posts

Friday, 4 August 2017

'The Art of Living' by Elisa Ablett - August Watercolour Mixed Media Kit


Hi everyone, 

Elisa here from the design team with my latest creation for Artified - A mixed media Art Journal Page using the awesome products from the  NEW and exciting Mixed Media Kit - August Edition.

The kit is perfect for those wanting to try out new products and also to add to your mixed media stash!

No automatic alt text available.


The link to the Shop for the kit - Head on over to check it out!


August Watercolour Mixed Media Kit


Here is my project - The Art of Living.


Tutorial time 😀


Step 1 - Using the dictionary paper provided cut two feathers either by hand or using a template and also cut a few rectangles (about 5 or 6 ) depending on the size.


Step 2 - Using gesso from your stash, give your feathers and rectangles a coat and let dry


Step 3 - While your feathers are drying, lets start the background! Coat your page with gesso and let dry, then spray your page with the Gold Acrylic Marabu Spray and while wet add drips of colour onto your page from your watercolour palette (the greens, browns, oranges and yellows). With a very wet paintbrush grab your colour and add to the wet areas on the page. Using a heatgun dry and then keep applying colour til you are happy with the page.


Step 4 - Add colour to your feathers and rectangles by spraying each with water. Spray water onto a craft mat and add some of your colour to the water. Then using a paintbrush add colour to the wet area of your feathers and dry using heatgun.


Step 5 - Some paper weaving! cut thin strips about 10cm long and lay the first few on top of each other and then start weaving over and under, doesn't have to be neat. Then spray over the top with the gold Marabu Art Spray and let dry.


Step 6 - Add some stamping to your rectangles and background page using the stamp and an archival black inkpad and an acrylic block. 

Extra steps - Using the stencil and white modelling paste add texture to your background page
Cut a piece of white cardstock to stick your elements to the background page
Wrap some extra strips of the dictionary paper around a stick and add some ivory coloured cotton
Highlight some words from your dictionary or book paper - i was lucky enough to find the words - The Art of Living!
Stick down your rectangles, paper weaving, stick and feathers as shown in the main photo, overlapping each layer
Grab the thin paintbrush or water brush that comes with your kit and fill it with water, using the black colour add hand painted elements to your page, I added dandelions and grass.

I also used a dauber and a black inkpad through the stencil to add a butterfly to my page.

My theme was to tie in the words The Art of living with natural earth tones and flora and fauna.

Here are some close ups!


That's it from me today! I hope you have enjoyed my Art Journal page tutorial and also looking through the NEW Mixed Media Kit from Artified - Artified August Mixed Media Kit. Make sure you leave me some love!

Also make sure you join the new Artified facebook group to share your creations and keep up to date with all things Artified - https://www.facebook.com/groups/246759415835526/?ref=br_rs


Friday, 26 May 2017

"Nature is ...." an Art Journal

Hello everyone!
Michelle back at you with an art journal that resulted from a play session I had with the new Acrylic Art Sprays by Marabu
These are the fab sprays Donna Downey discovered and showed us all on her youtube channel.
Well, after having a play myself can I just say......YOU HAVE TO HAVE THEM ALL!!!!!

How many times have you sprayed a background that you love with  Dylusions Sprays, or even to a lesser extent Lindy's, and then find, when you want to add another medium or layer, the effect is lost due to the water soluble nature of the sprays? 
They just keep moving when sometimes you just do not want them to! 
Well behold, here is the answer ..... Marabu Art Sprays! 

Now, please do not get me wrong, I love My Lindy's and these sprays will not replace them in my art supply arsenal, but they do complement the other sprays as their properties react totally different. 
Basically, the Marabu Art Sprays, once dry, do not move, yes they are permanent!
So for background creation they are just perfect!
 Enough of my carry on, here is the page I created after going nuts with all the colour goodness:

 Here is how I went about my little experiment.

I randomly sprayed through a variety of stencils that I just happened to have on my desk, 
there was no plan and I literally just slapped them all on "willy-nilly" (Oh dear I am starting to sound like my Mother). 
I stuck with a cool colour palette. When the sprays are wet they merge and blend together beautifully, just the way the other sprays do (and what we love them for!).  The colours are so vibrant and they spray with a fine mist that has lovely coverage, so they will go a long way. 
The difference comes into play when they are dry, they do not react any further. 
So lets test that out shall we?

 
Once the first layer was dry I added more colours, (colours that would turn to "mud" if they were reactive),
and looky here, they stayed put and behaved themselves!
I just kept adding more colours till I had a right royal mess really, as I wanted this background to become an underpainting to really test the permanence out.

 
Ok now I have to tell you "GET THE GOLD"! 
When you first spray with this metallic colour it is a "milky" mess but on drying.....OH MY!!! 
It is just glorious! 
So here is the state of the page I ended up with.... I know right, sooooo busy!
So lets get it covered a little and really test these babies out!


I sketched a feather shape, then outlined it with a Fineline needle tip bottle, filled with White Acrylic Paint and Flow Medium, to one side of my page. This will become my focal point on the page.....eventually!

 With white acrylic paint or you could even use Gesso, I covered the background around the edges of the feather so that it highlighted the shape, popping it forward out of the background. 
 The sprays worked perfectly, none of the colour seeped through. If you did this with Dylusions spray underneath you would get colour coming through and tinting the white paint. 


I only added a light layer of white as I still wanted some of the background to show through.

 I pulled some of the white back through a stencil with a baby wipe as I still wanted to test the permanence out and it still did not move with the water on the wipe....YAY!


So here is the page so far, I felt I wanted the feather to pop more so out comes some metallic paint!

 
I gave the feather a few more outlines to make it pop more and also a bit of scribble writing up the side.


Now I am almost done, thanks for sticking with me!

 
All that needs doing is a title or quote, and for this I used alpha stamps and Black Stazon ink.
As I do not trust myself to stamp straight on my page perfectly I cheat a little and stamp my quote onto tissue or greaseproof paper then use Gel Medium to adhere it to my page. The tissue dries transparent so works well.


After the Gel Medium dried I added a few spots of the metallic paint and my page was done!

So, how would you use these with other water reactive sprays? The answer here is fairly simple, I would use the Marabu sprays as my initial layers, then add Lindy's towards the end to add a little shimmer or sparkle, as the acrylic sprays (apart from the metallic colours) are a flat but vibrant colour. 
I am sure with a few more play sessions with these bottles of goodness I will find loads of alternative uses, and I am not packing away my favourite Lindy's Sprays, I am going to play with both! 
Why? 
Because I hoard and I can! LOL
One last look at the finished page:

And a few detail shots:
So that is it from me hope you get your hands on some of the sprays they have been flying off the shelves as soon as they arrived!
Here is where you will find them in the Artified shop: Marabu Art Sprays
Thanks for dropping by, see you next month!

Michelle


Tuesday, 25 April 2017

Art Journal Play

Hi all! 
Michelle with you today with a few art journal pages created with lots of Artified goodies.
I had loads of painterly fun creating, so much so, I failed to take picks of my process, so sorry but I promise to remember for next time!

First up is "Shine Shine Shine" using some Geli printed papers, Washi Tape, vintage papers, stamps, stencils and paint a plenty!

I started with gesso and paper layers then added more paint through stencils, stamping and Washi Tape then used the black as a unifying colour to bring all the elements together. I applied paint with a palette knife brushes and my fingers till I was happy with the composition.
Here is a little bit of detail for you:


The focal point was made with a Kraft card and a few Dina Wakley stamps. 

Next up "Me...".
For this one I made a stencil out of a magazine image, then used that shape to create my figure out of old book paper.
I had a bit of fun splashing paint around and stamping on a Gessoed page, then stuck the figure down with Matt Gel Medium.

I added some paint to the figure through a few stencils and added details with a Stabillo all pencil and paint pens.


The shadow around the figure I did with the pencil and a touch of water applied with my finger to blend.


A few more stamped images and the page was done!

Now for my last page to share, "Be....".
Used a lot of scraps here and had some fun with paint and stamps, this one was very quick and easy to create.


I started by adding old book paper shapes across the Gessoed page, then added my paint colours with my palette knife. I then rubbed the paint off through a stencil with a baby wipe to leave interesting patterns underneath.
Lots of layers of paint and stencilling created the background, then it was time to focus on the foreground of the page.
I wanted something simple but I also wanted it to cover a lot of, what was, a very busy background. 

I went through my scrap paper stash and came up with some old black lined paper....do not ask me where I got that from....no idea!
I punched out the circles with an old punch and laid it across the double page so that the circles framed just enough of that busy background. I then added some paint on a stamp to make the paper part of the composition and added some stamped words and the page was done!
Here are the links to all the products used on my pages for easy reference:


So there you go, my sharing here is done, see you next month! 
Michelle


Monday, 10 April 2017

'My Sanity' Art Journal page by Elisa Ablett

Hi everyone, 


My turn up on the Artified Blog with a fun and colourful (tongue in cheek) Art Journal page.

Featuring loads of awesome Artified goodies including Tim Holtz layering stencils, distress paints, prima watercolour confection pans and a gorgeous Stampotique unicorn stamp.


Here are just some of the wonderful products used to create my Art Journal page, follow on for the step by step tutorial.


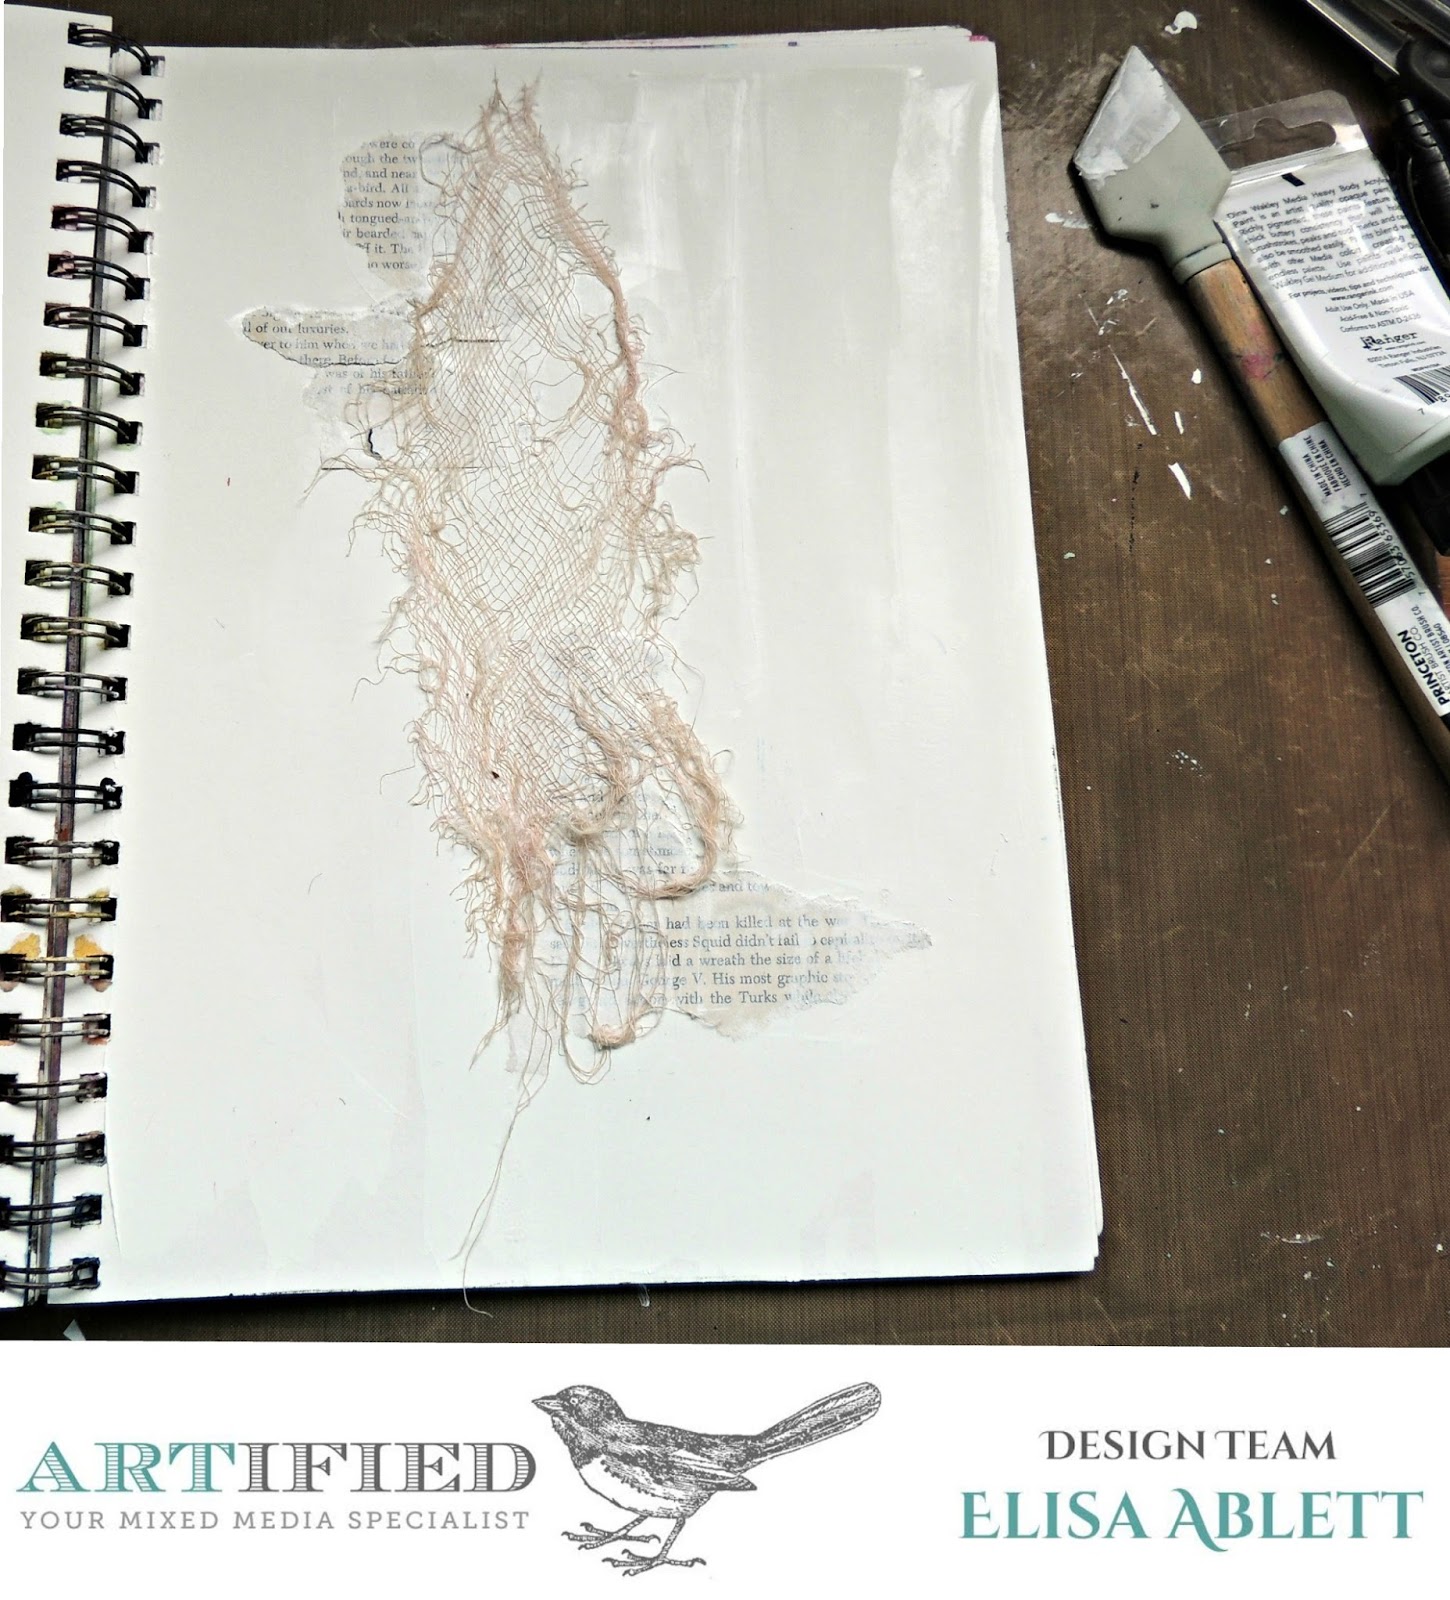
Step 1 - Using Dina Wakely heavy body white paint paint/glue old book paper and medical gauze to your page to add texture and depth.


Step 2 - while you are waiting on your page to dry, stamp your unicorn onto smooth watercolour paper with archival ink and colour with your prima watercolours using a paint brush. Fussy cut your unicorn out. I also drew a couple of bears to ride the unicorn in keeping with my funny saying and coloured them as well. 


Step 3 - Add some more texture to your page with modelling paste and your Tim Holtz Layering stencils. 


Step 4 - Once your paste has dried, using the side of a ruler ( i added black indian ink to the side of the ruler) and spritz my page with water in the middle, then pressed my ruler to the page to create black lines 


Step 5 - Add some circles to your page using stamps, toilet rolls, plastic lids etc and ink, start colouring the larger circles with watercolours or distress paint. Then start colouring your page using distress paint and water colours spritzing with water when needed.


Step 6 - Add some visual interest by gluing some colourful strips of paper. and then using a baby wipe over the top of a stencil to take away colour from your page.

Another chance to add some stamping !


Step 7 - Last steps - Add a large grungy circle in the middle of your page with a ink nib pen and Indian ink so that your unicorn can sit inside it and you can add your quote around the circle. 


Here are some close ups !!


Here are some links to the products in the Artified Store:


Unicorn by Magda Polakow


Well that's it from me today!!

Hope you have enjoyed seeing my Art Journal come together :-) 


Elisa xx