Monday, 10 April 2017

'My Sanity' Art Journal page by Elisa Ablett

Hi everyone, 


My turn up on the Artified Blog with a fun and colourful (tongue in cheek) Art Journal page.

Featuring loads of awesome Artified goodies including Tim Holtz layering stencils, distress paints, prima watercolour confection pans and a gorgeous Stampotique unicorn stamp.


Here are just some of the wonderful products used to create my Art Journal page, follow on for the step by step tutorial.


Step 1 - Using Dina Wakely heavy body white paint paint/glue old book paper and medical gauze to your page to add texture and depth.
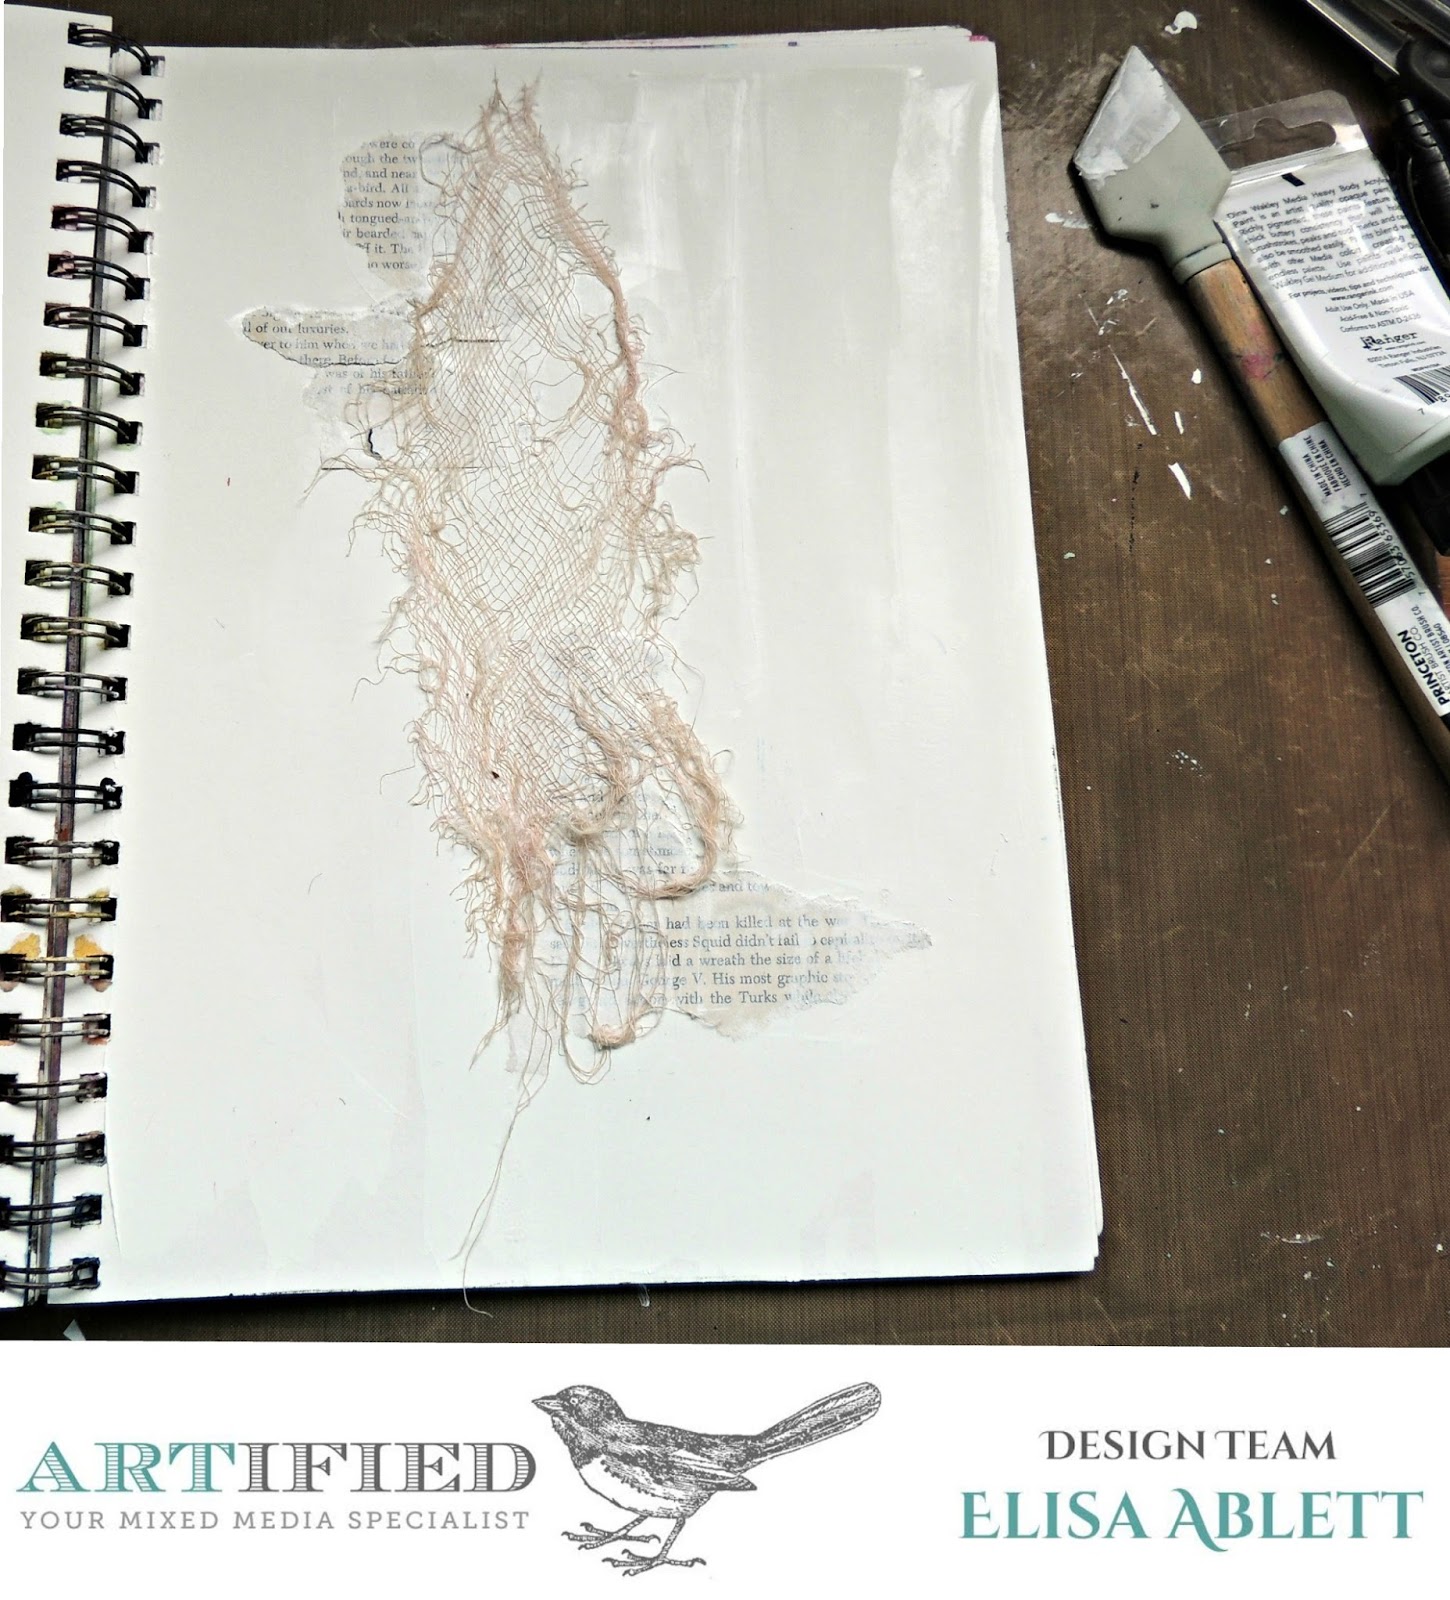


Step 2 - while you are waiting on your page to dry, stamp your unicorn onto smooth watercolour paper with archival ink and colour with your prima watercolours using a paint brush. Fussy cut your unicorn out. I also drew a couple of bears to ride the unicorn in keeping with my funny saying and coloured them as well. 


Step 3 - Add some more texture to your page with modelling paste and your Tim Holtz Layering stencils. 


Step 4 - Once your paste has dried, using the side of a ruler ( i added black indian ink to the side of the ruler) and spritz my page with water in the middle, then pressed my ruler to the page to create black lines 


Step 5 - Add some circles to your page using stamps, toilet rolls, plastic lids etc and ink, start colouring the larger circles with watercolours or distress paint. Then start colouring your page using distress paint and water colours spritzing with water when needed.


Step 6 - Add some visual interest by gluing some colourful strips of paper. and then using a baby wipe over the top of a stencil to take away colour from your page.

Another chance to add some stamping !


Step 7 - Last steps - Add a large grungy circle in the middle of your page with a ink nib pen and Indian ink so that your unicorn can sit inside it and you can add your quote around the circle. 


Here are some close ups !!


Here are some links to the products in the Artified Store:
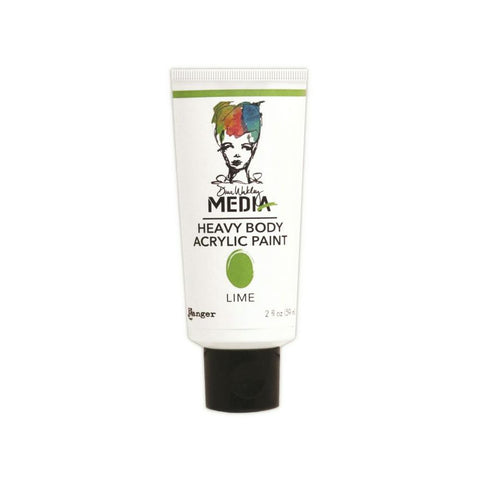


Unicorn by Magda Polakow


Well that's it from me today!!

Hope you have enjoyed seeing my Art Journal come together :-) 


Elisa xx


Monday, 13 March 2017

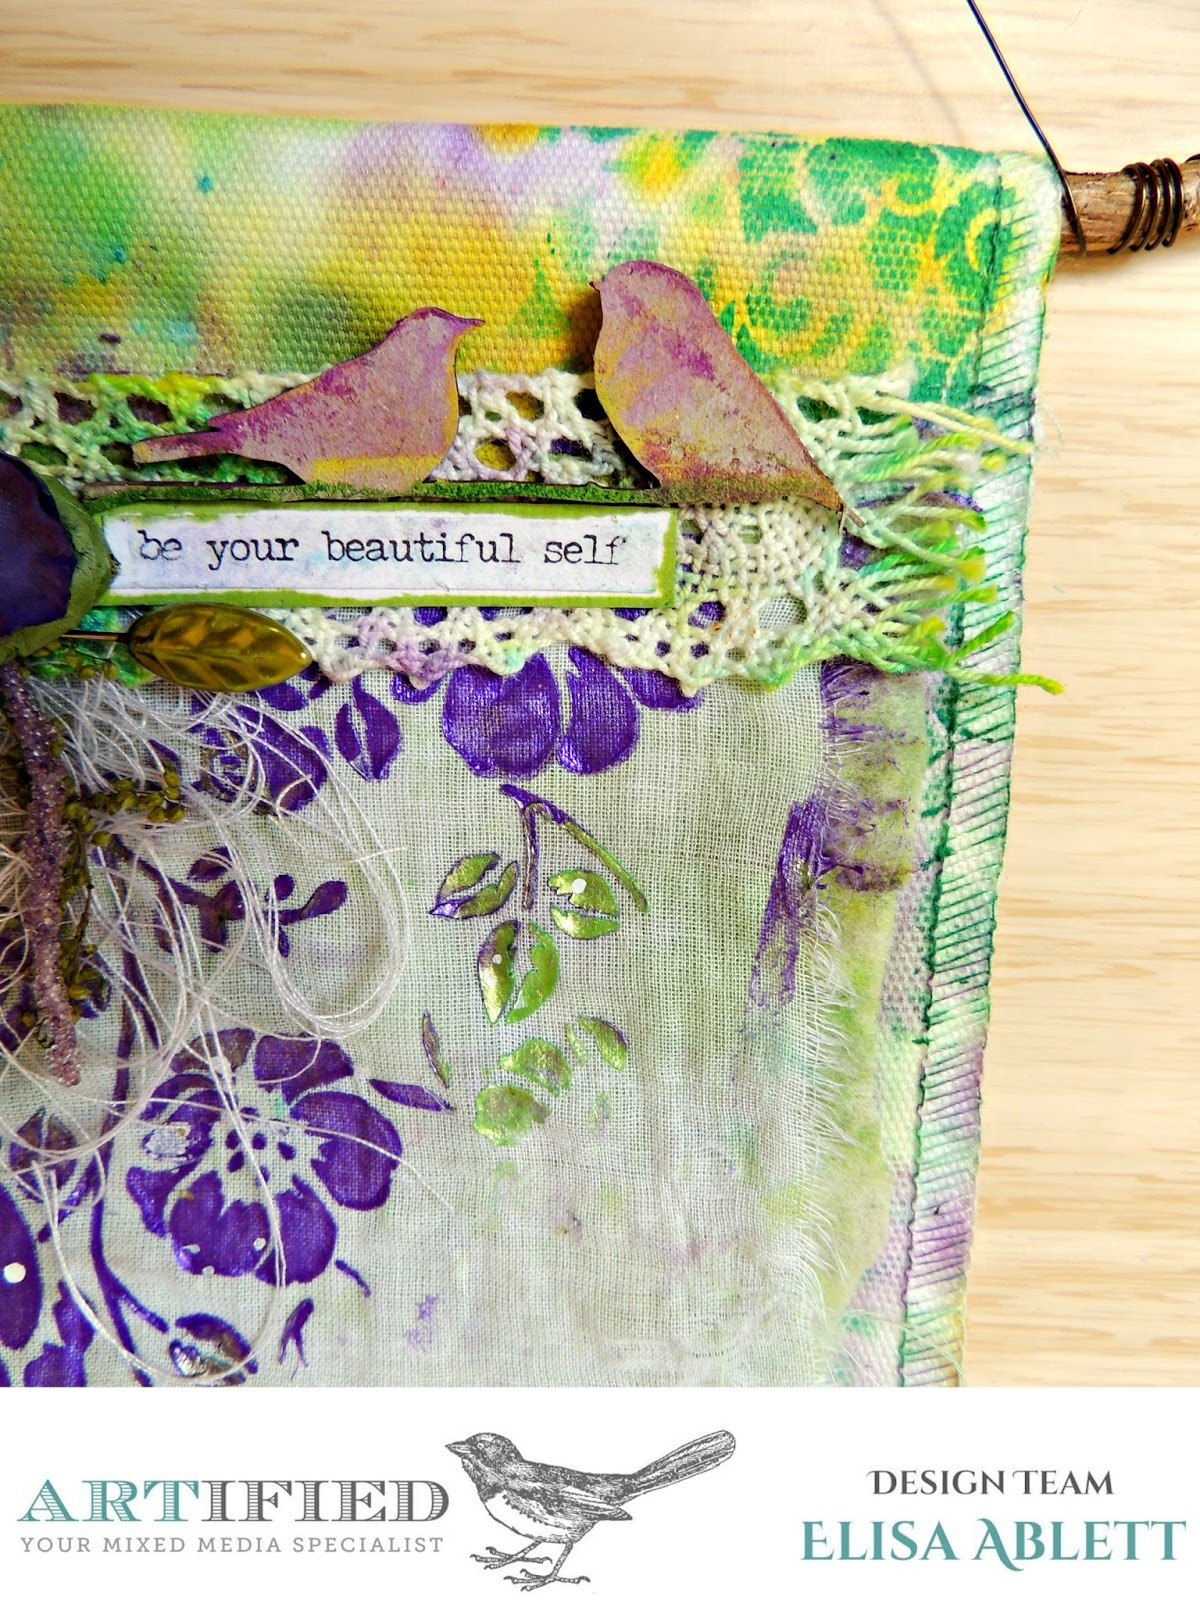
'Be your beautiful self' by Elisa Ablett

Hi Crafters,

Elisa here from the design team with my first post for Artified!

I wanted to create something a little out of the box for my first post using the gorgeous Tim Holtz Layered Stencils in Floral, Roses, Ornate and Trellis AND the NEW Lindy's Stamp Gang Shakers.

I had a play around with the Shaker's to hand dye my Canvas flag and I mopped up the excess liquid with a baby wipe and was so impressed with the patterns on it and colours I decided to use the baby wipe on my project. Here is the end result!


To start my project I coloured my chipboard birds with a few coordinating Gelatos and put aside to dry.


Next step, using a craft mat spray water and tap out a little bit of colour from your Lindy's Shakers into the water - then dip your canvas flag into the water and colour and repeat until you have covered your flag in colour and patterns, Mop up the excess colour and liquid with a small piece of lace and a baby wipe and set it aside to dry - we will be using these on your project!


Next once your lace is dry attach it to your muslin by sewing or gluing if you don't have a machine. Grab a inkpad and sponge or dauber and using your Trellis stencil, dab some of the colour through your stencil onto your dried canvas flag.


 Grab another stencil and repeat with a green inkpad and the Ornate stencil.


Next step - Attach your muslin to your baby wipe and distress the edges of the baby wipe until they are uneven and torn, then attach to your Canvas flag either by stitching with a machine or gluing. Then using the Floral Stencil and a palette knife spread Colour Blast paste in your chosen colour ( I used Royalty) making sure the paste covers parts of the flag, muslin and baby wipe. Carefully peel off the stencil and let dry!


Here are some close ups for all the finer details. I added my chosen saying, chipboard, flower and cotton to add a little extra colour and texture. Once the flag is complete thread a stick through the hole and wind wire around the stick to create a hanger.


Here are the links to the products at Artified.


Lindy's Stamp Gang Magical Shaker - Yodelling Yellow

Lindy's Stamp Gang Magical Shaker - Polka Purple

Lindy's Stamp Gang Magical Shaker - Lederhosen Laurel


Thanks for stopping by the blog today, make sure you leave some love :-) 

Elisa xx


Monday, 6 March 2017

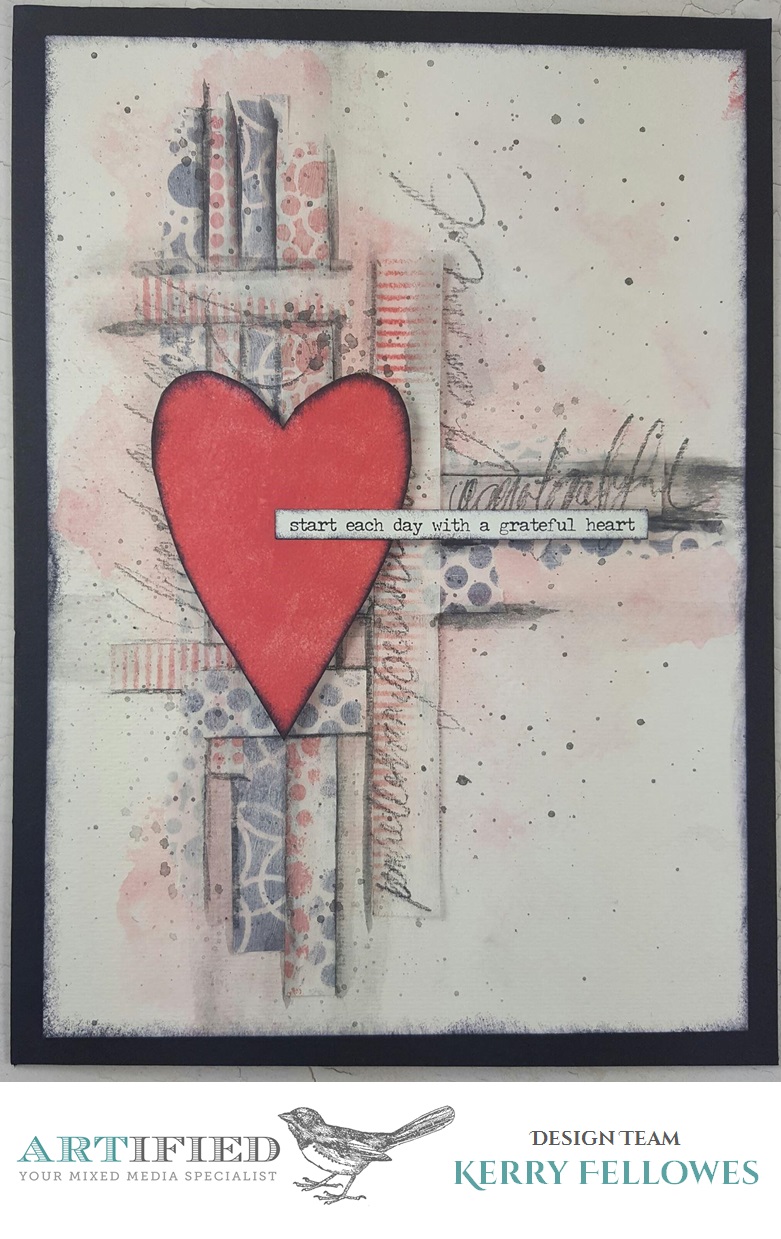
Grateful Heart Journal Page

Hello!  Its Kerry here today and its my turn to share my project from the 'Mini Kit' for Artified. I am not usually a minimalist and usually have everything but the kitchen sink on my pages but for this project I wanted to stick with the products from the kit adding only a couple of other basic supplies to the project.  Once I wrapped my head around that, it was actually a quick and easy page. Inside the box we had:

To start my page I took the stencil, Deli paper and the Sunkissed Coral paint and stenciled some 'stripes' onto the deli paper, I wanted some contrast so I did the same using Black Archival ink.


 Once the paint was dry I cut the Deli Paper into strips to resemble 'washi tape'  


  I then took the Watercolor paper and cut it in half.  I sprayed the paper heavily with water and added a little of the paint to the left side and also just the middle on the right side with a sponge and then randomly added my Deli Paper 'washi' strips.


 I painted over the strips with a thin coat of white Gesso and once dry took the Stabilo pencil and drew around the edges of the strips.  I activated the pencil with a little water and used my finger to blend the lines a little. I also added a little scribbly journaling for interest.


I scribbled onto my craft mat with the pencil and added some water, then using a paintbrush I picked up a little of the 'grey' colour to add some small splatters to my page.

I drew a heart onto the piece of leftover watercolor paper, cut it out and then painted it with the Sunkissed Coral Paint adding Black Archival Ink around the edges for definition.


 I have popped the heart up onto a little foam tape and added a 'Chit Chat' sticker to finish off.


You can find all the products used at these links: 

Thanks for stopping by :)


Wednesday, 22 February 2017

What's in the Box????

A big Hello everyone, 
Michelle back with a little something fun....and a bit of a challenge!
As part of the Artified team I received a little kit of goodies to play with, and to give myself a further challenge I decided to keep to these supplies as much as possible, to prove that you do not need much in the way of supplies to create.
So lets get on with it shall we?......here is the mini kit I received:


The products included are:

I had to really put my thinking cap on for this one, as that colour was tricky (at least it was for me, kept looking like blood if I wanted any drippage LOL!).
I wanted to stick with minimal colour palette and use supplies that everyone has in their stash.
So here is my creation using the supplies sent with the addition of a few staples, like Gesso, stamps and washi tape.


And here is how I created it. 
I found breaking that blank page was the hardest thing to do, once I got going though I got on a roll and it came together easily and quickly....so much so I forgot to get a few pics for the step by step, so apologies there....next time I think i should do a video!
Lets get on with it shall we....


  •  First thing I did was to coat the paper with a layer of white Gesso.
  • Then I tried to create a colour that was not so "in your face"....so to speak....so I added some white gesso to create a softer background colour then added it to the page and sprayed it with water to move the colour around.


  • While still wet, I added some Shapes to the background using the stencil and a fairly dry baby wipe to rub the paint back, revealing cool textures.


  • Then I added a few splashes with the original Watermelon paint colour.
  • Next I added Black Gesso to some white Gesso to get a grey colour, and added some splashes to the page.  


  • I then added a few of the circle shapes across the page with a sponge through the stencil (and here is where I got a little carried away and forgot a few progress shots so I will try and talk you through it!


  •  The circles looked cool but I needed more interest so added some lines with a card in both Watermelon and the grey colours.


  •  Then it was time to scribble and make some marks with the Stabilo pencil, loved using the lines here.


  •  I added a piece of torn book paper across the middle of the page ready to add the main focal point.
  • Adding a few cool dots using black gesso through the stencil and torn strips of washi tape  across the book paper creates a cohesive composition.

 
  • Oopsy once again got really carried away with the process, so here is what I did:
  • I stamped some Face images on the Deli paper making sure they overlapped a little, then stamped a third image on scrap paper and gave her a little rosy cheek using a watermelon gesso mix of paint. This image will be the main focal point to the page.
  • Using gel medium I glued the tissue images down first then the main face with the rosy cheeks.


  •  I used the pencil to add some scribbly details to the main image and more scribbles onto the background.
  • Using an alphabet stamp and the Watermelon paint I added the "SHE" words and more lines with a card.


  • I stamped some sentiments to add to the words on scrap paper, glued them down and added some pen work to highlight both words and phrases.


  • And so my page is done... a monochrome composition using supplies that most of you all have. Why not give it a go?
Here is the full list of supplies:

Dina Wakley Stamps: "Face in The Crowd"
Alphabet stamps.

Thanks so much for dropping by, cannot wait to see what the other DT girls create! 
Till next time,