Hi Everyone!
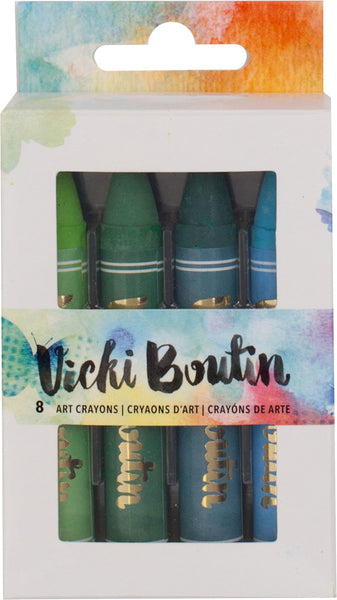
My turn up on the Artified Blog today with a step by step Art Journal page featuring Vicki Boutin Art Crayons - Cool Palette and Dylusions Ink Sprays.
If you haven't tried the Art Crayons as yet, put them on your list as a must have! They are so creamy and vibrant in colour and easily blended using many methods AND are easily water soluble as well, so many uses!
Here is my page -

Links to products in the shop for easy reference at the end of the tutorial!
Now onto the first step - 👇

Step 1 - First prepare your background, in this case I used a teal Dylusions paint painted roughly over the page, then once dry I sprayed Black Marble Dylusions Ink Spray on both the top and bottom of the page and tilted the page to make the drips. I added a little Teal Ink Spray as well to the top and bottom.

Next Step - Gesso the page in the middle roughly again, Then glue a square of water colour paper to the middle your gesso square and a few bits of ephemera to the lower right hand side for a bit of added texture. gesso over the top of the ephemera to dull their colour. Once dry draw black lines with a black marker and ruler on your square.

Splatter watered down gesso over page.

Grab another square of watercolour paper and your Art Crayons and a craft mat!

One great technique to use with the crayons is to scribble them directly onto your craft mat and spray the colour with water and mix with a paint brush, you now have a lovely vibrant and thick watercolour paint.

To stamp the flowers I put my stamp on a block and then dipped the stamp in the paint on my mat and stamped on the water colour paper. To get the darker background i scribbled directly onto my stamp with the crayon and lightly misted the stamp with a spray bottle of water and then stamped over the top of my layered flower. To add details, use a paint brush and using the technique above scribble colour on your craft mat and spray with water to make a paint. Then pick up colour with your brush to add details.

Next step, tracing around your silhouette onto your page to get your outlines in place with a black archival safe marker.

Next step - add your die cut feathers, in my case I handmade my feathers with a cool technique using a silicone mould and modelling paste. Scribble your colour crayons directly onto your feathers and then mist with your water spray bottle and using a paint brush move your colour again over that area.

Stamp over the top of your flowers again with a black archival ink to add finer detail. Set aside to dry. Then fussy cut your flowers and leaves out.

Next step - grab your layered stencils and lay them over your silhouettes, scribble your coloured crayons over the stencils. Then using a baby wipe, wipe the the colour through the stencil onto your silhouettes. Adding colour and texture. Once dry we are now going to add your black colour to add shading to your page. Scribble your black crayon from the Vicki Boutin - Art Crayons Classic Colours set around your silhouttes and feathers and flowers. Using a wet paintbrush and your finger (YES your finger lol) smooth the black and blend around. Dab the harsh edges of your black shading with a baby wipe to further smooth the colour out.

Next step ! - stamping with your crayons - scribble onto your craft mat again and spray the colour with water and then dip your stamp into the colour and stamp onto your page as per the below photos.


Last steps! Glue your flowers and leaves onto your page just over the top of the feathers, add your cut our sentiment and add more splatters of white watered down gesso over your page.
Here are some close ups of the finer details -


You are now finished!

Product Links
Thanks for stopping by the blog today, I hope that you have enjoyed the tutorial!
Make sure you leave some love xx
Elisa

No comments:
Post a Comment